|
Setting
up your cashbook file - Part 1
Creating your file cashbook file, setting preferences and company
details.
Creating
the cashbook file
When you start the program, you will be presented with the opening
screen, shown below.
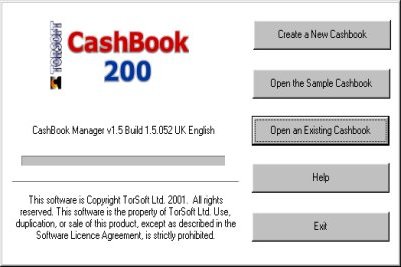
Highlighted
in the image above is the button marked Create a New Cashbook.
Pressing this button will open the save window, allowing you to
choose where to save the cashbook file, and what name to give it.
Feel free to give it whatever name you wish. After the cashbook file
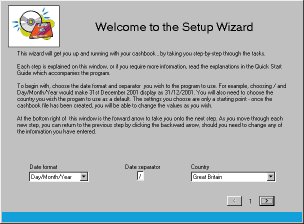
is created, the Setup Wizard (shown below) appears. Follow the
Wizard's instructions to set up the basic details of the cashbook.
Setting
Preferences
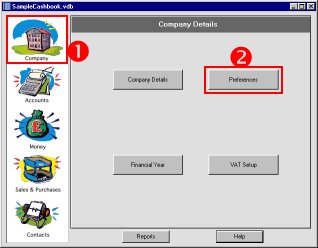
During the Setup Wizard, you are able to choose several settings for
the cashbook file, such as date and currency formats. If you need to
review these settings, you can do so by clicking the Company
navigation button (1), and then
the Preferences (2) button to
display the Preferences window.
Company
Details
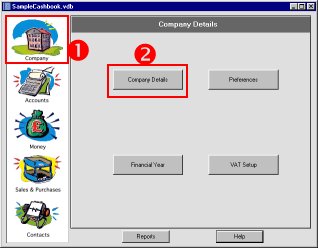
When creating the new cashbook file in the Setup Wizard, you had the
opportunity to enter some Company Details. You can review these
details by clicking the Company
navigation button (1), and then
the Company Details (2) button to
display the Company Details window (as shown below). You can
also add to the information by selecting an image to use on
printouts. For more information, click here.
The
Next Step
After going through the above first step information, you can
proceed to the step 2 information on setting up your cashbook file
by clicking here.
|
